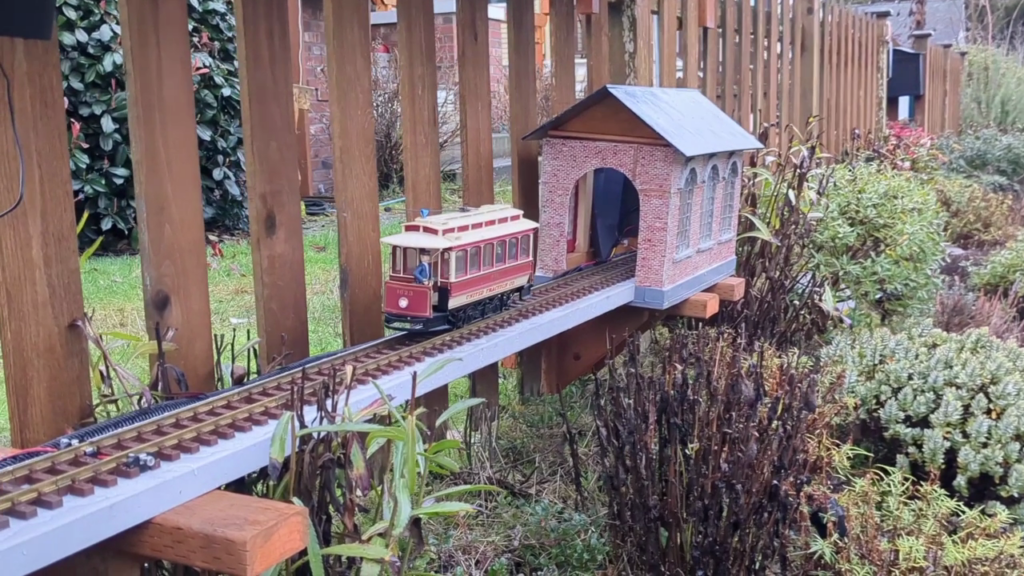
I built a working trolley display in my front yard.
I always thought it would be neat to have an outdoor train set, but we didn’t really have the room for a large circular track layout. That’s when I came up with the simple side-to-side with some little trolley barns on each side.
A person presses a button, and the trolley travels from one side to the other. You may notice a small nod to Mr. Rogers in the video (with sound).
This page has a lot of details, feel free to browse as much as you want.
The Electronics
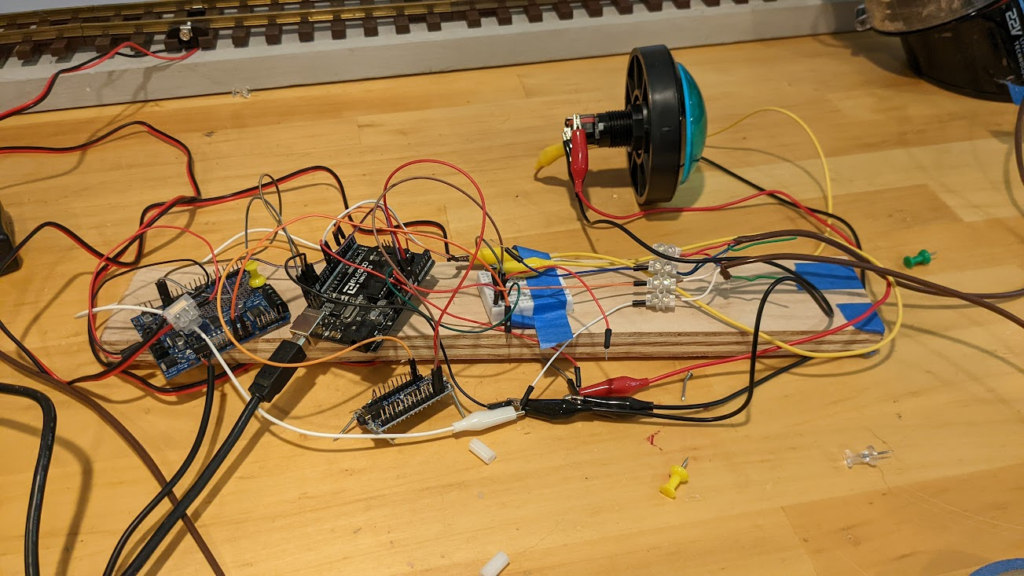
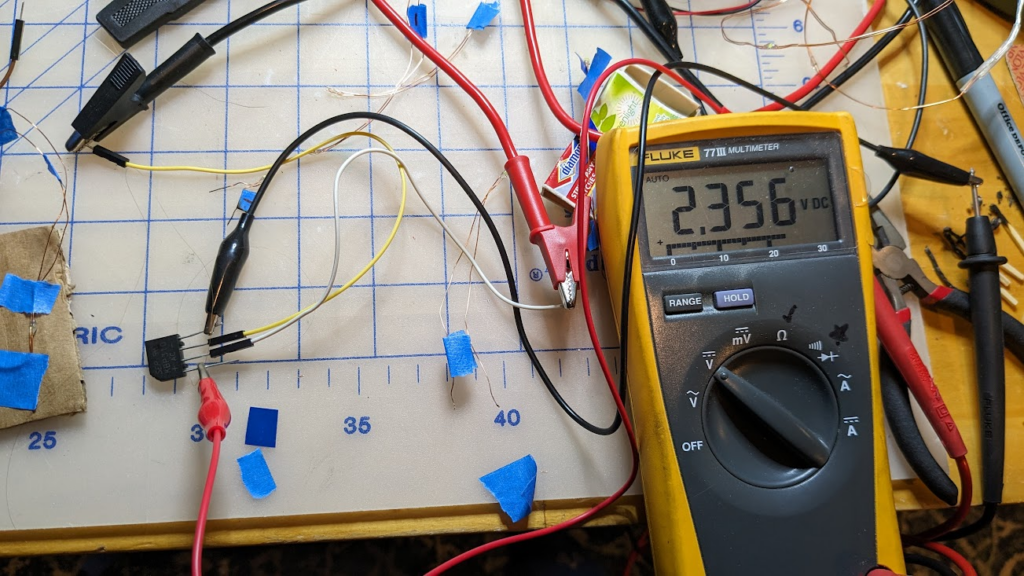
I started by building a prototype. I used an Arduino, a motor controller, and some break-beam sensors. I’m sure there is an off-the-shelf solution to do this kind of thing, but this is more fun!
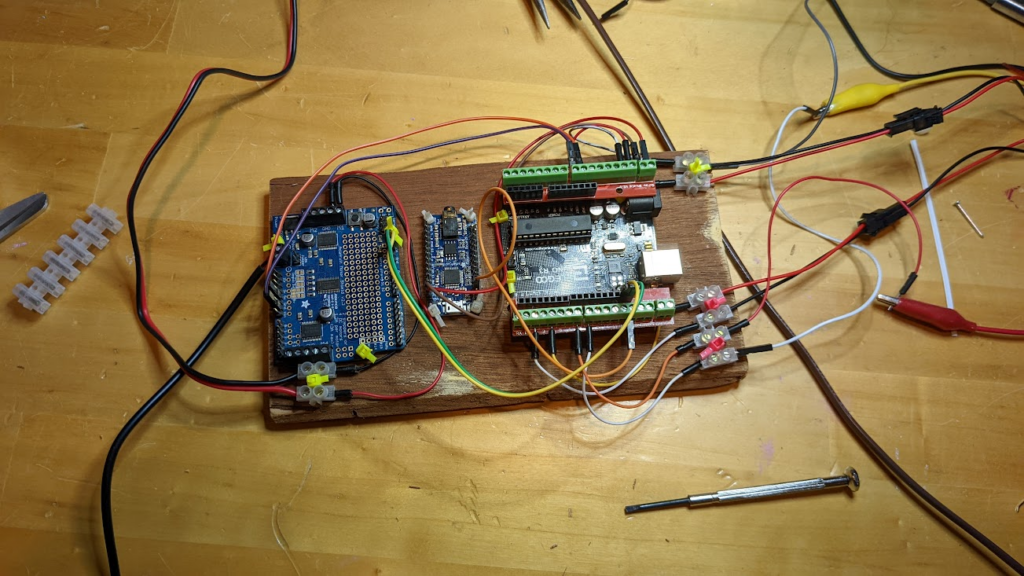
I made some attempts to improve my wire organization
This looks better!
I still use a lot of the same components that came with my original “Arduino Starter Kit” from 7 years ago. If you are interested in stuff like this, I’d highly encourage you to get yourself a starter kit. Mine sat on the shelf for 2 years before I came up with something to do.
The model making
I thought it would be cool to make some “period in spirit” trolley barns. These would be on both ends of the display and the trolley would stay in one when not in use. I started with some cardboard engineering.
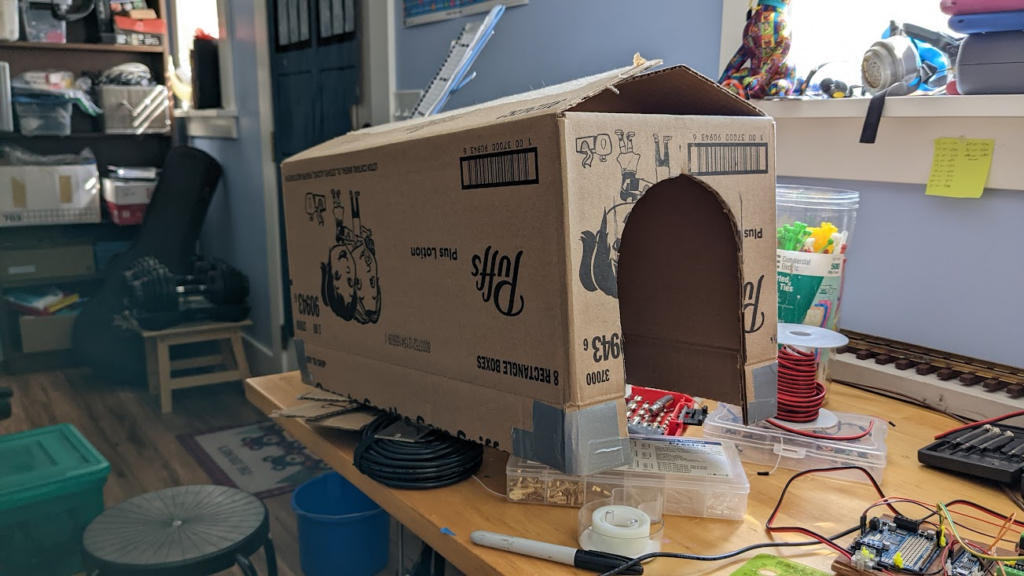
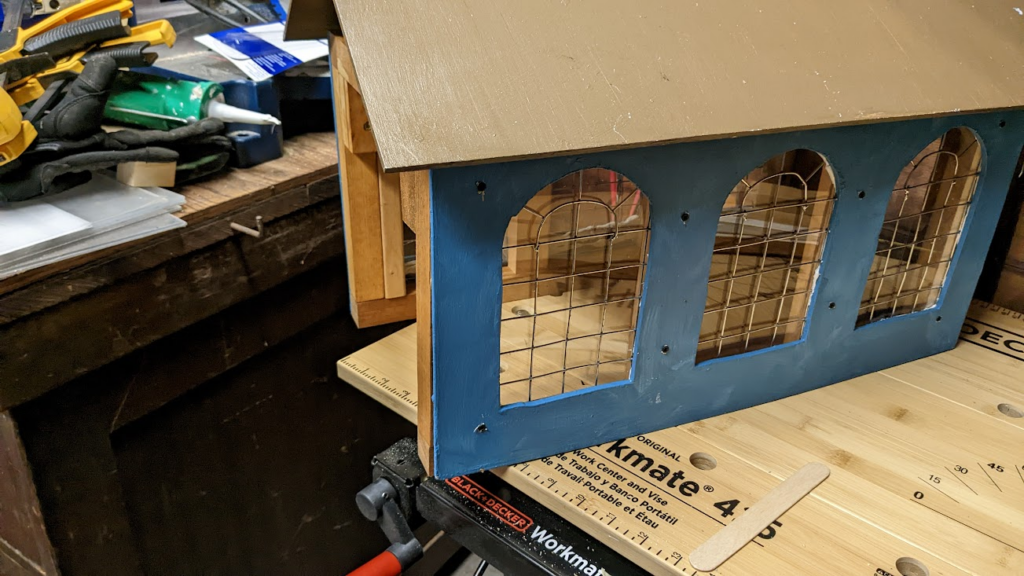
The frames were fairly straight-forward to make. I designed the roofs to come off so I could maintain things a little easier. I was hoping to store all the electronics in the roof. Unfortunately that wasn’t possible.

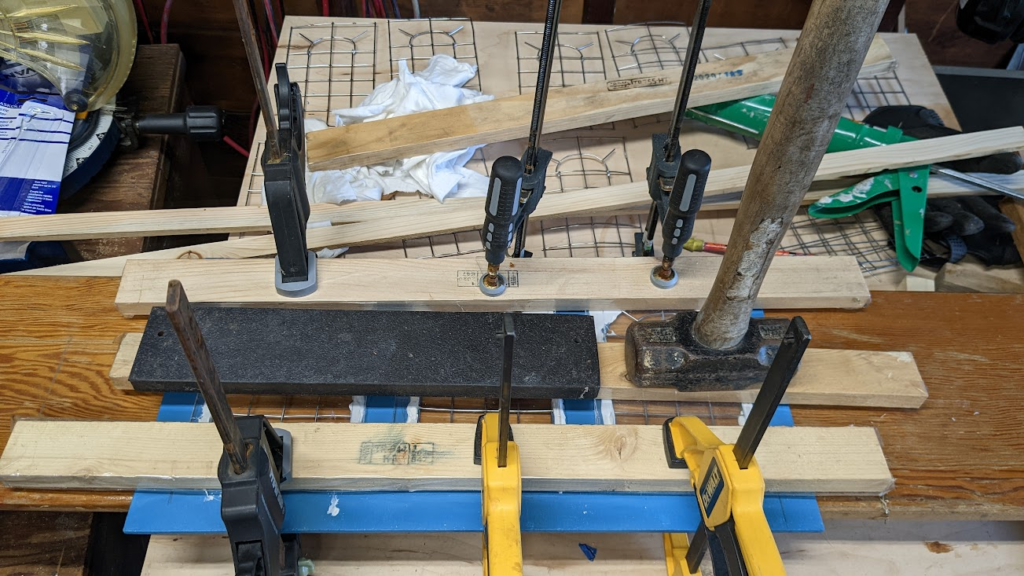
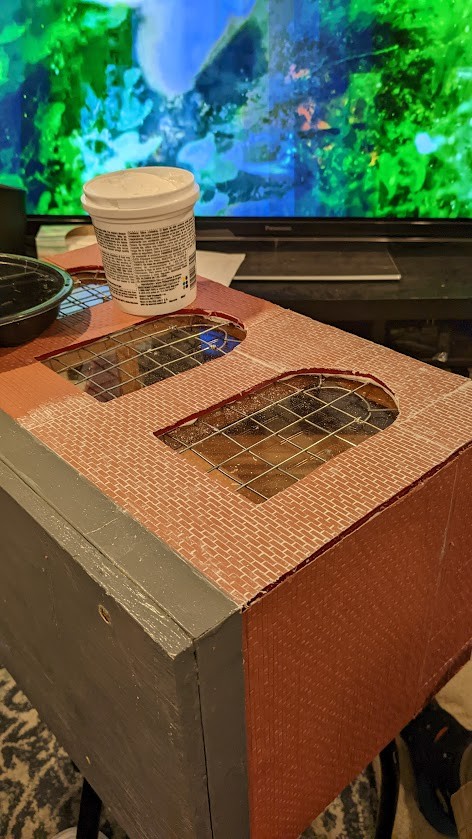
I decided to add some windows. I built metal frames by modifying some wire mesh
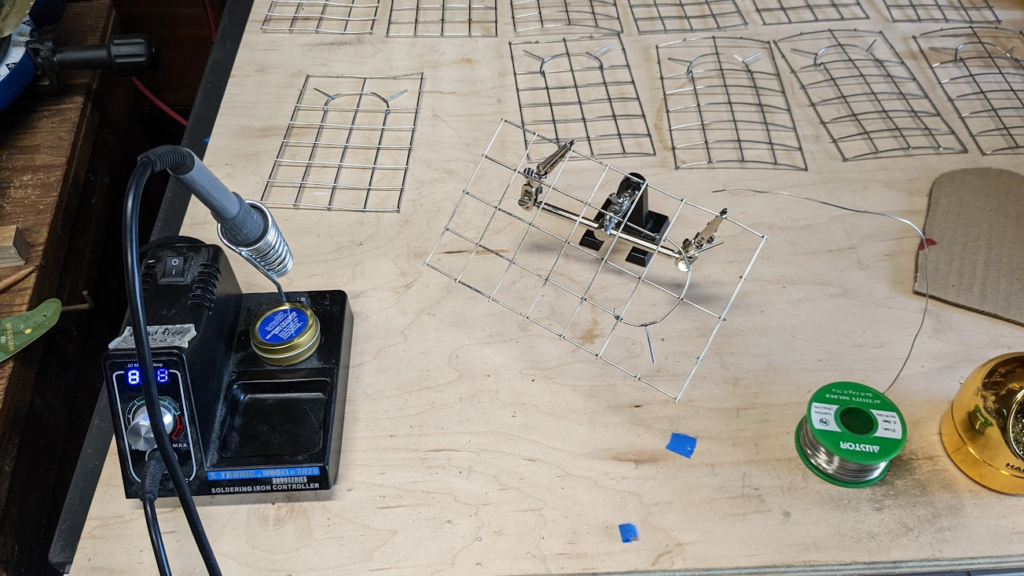
I then sandwiched the frame and plexiglass together

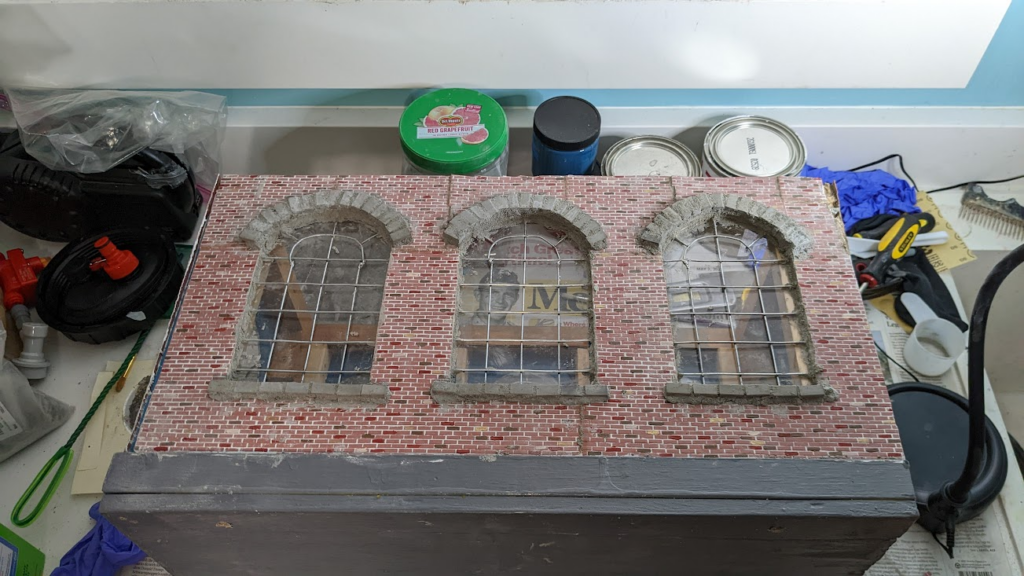
Looks pretty good!
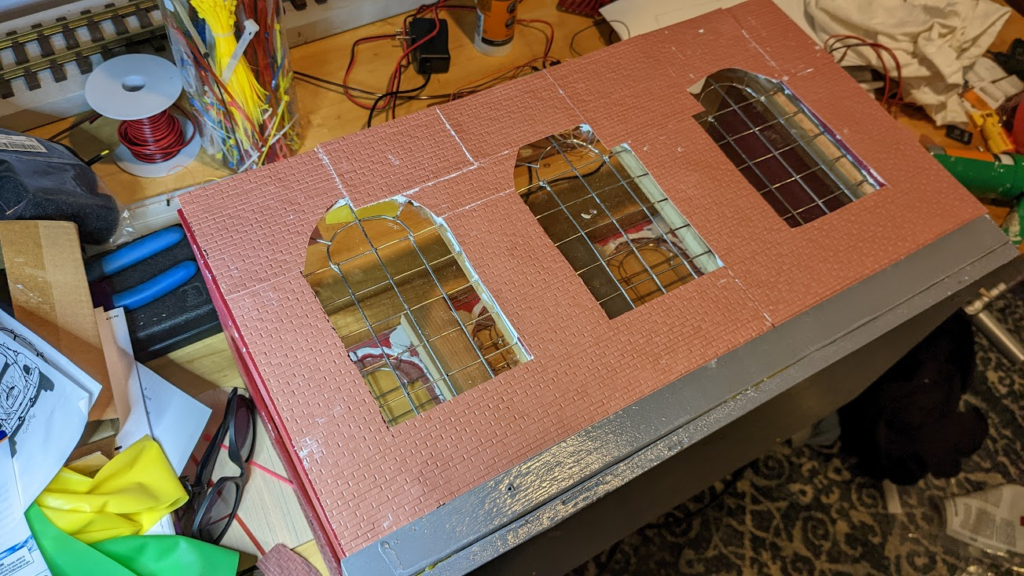
At some point I decided that I wanted these buildings to have brick. I found these sheets of brick material online and pasted them to the sides
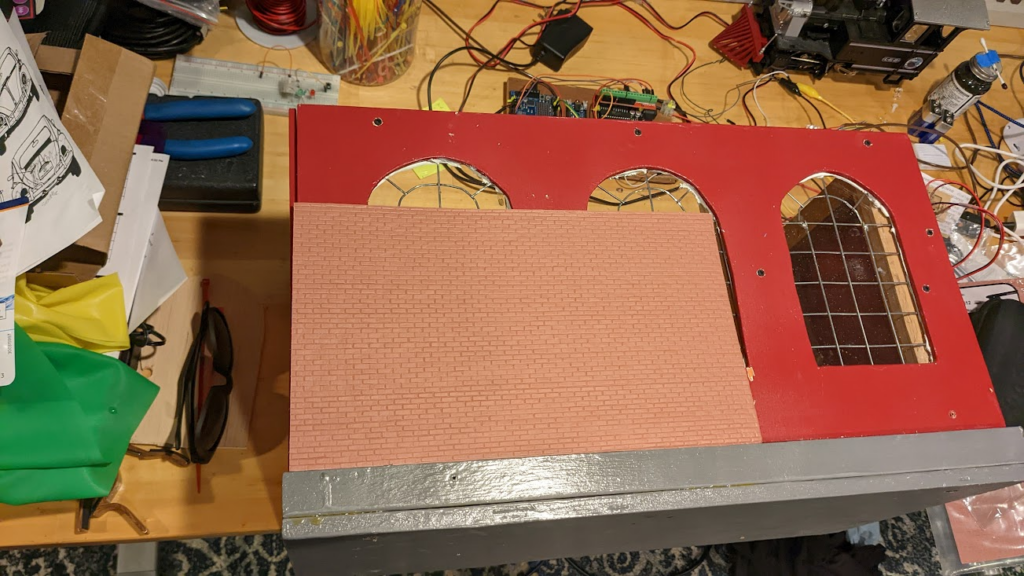
The nice thing about making a building that looks older, is that any mistakes just add to the look.
I learned quite a bit just by watching videos of railroad and dollhouse modelers. There are a lot of really talented people making period correct buildings.
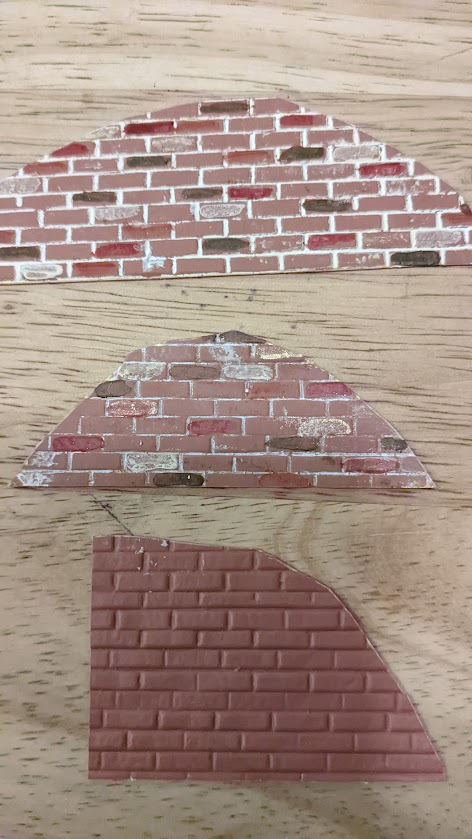
I used plaster for the grout, and individually painted bricks with accent colors.
I used adhesive to attach the stones, and sprinkled the concrete power on top to give it the look.
Installation
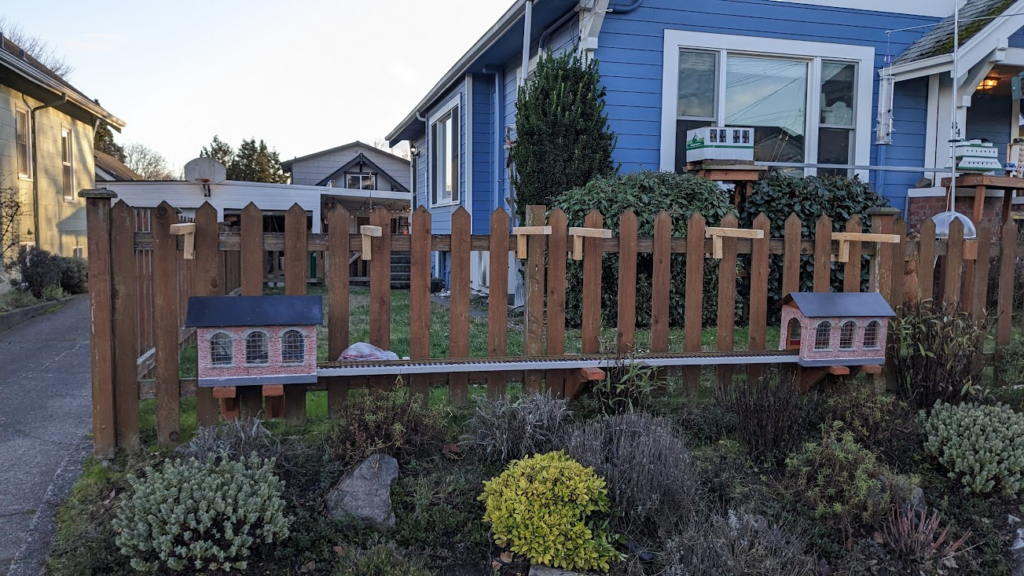
It’s finished! Unfortunately these things are never done.
I had several problems I never accounted for:
- the trolley was having issues making contact with the track – I never realized you had to clean the track so often – this turned out to be an issue with the style of motor I was using. I was able to fix it in Part 2 below
- It turns out break-beam sensors do not work well in broad daylight. I had to add a time limit for each direction otherwise the trolley would never know it made it to the other side
- In cold weather, the track shrunk and nothing worked. I had to remove some nails from the track to allow for growth/shrinkage
Part 2 – a new trolley
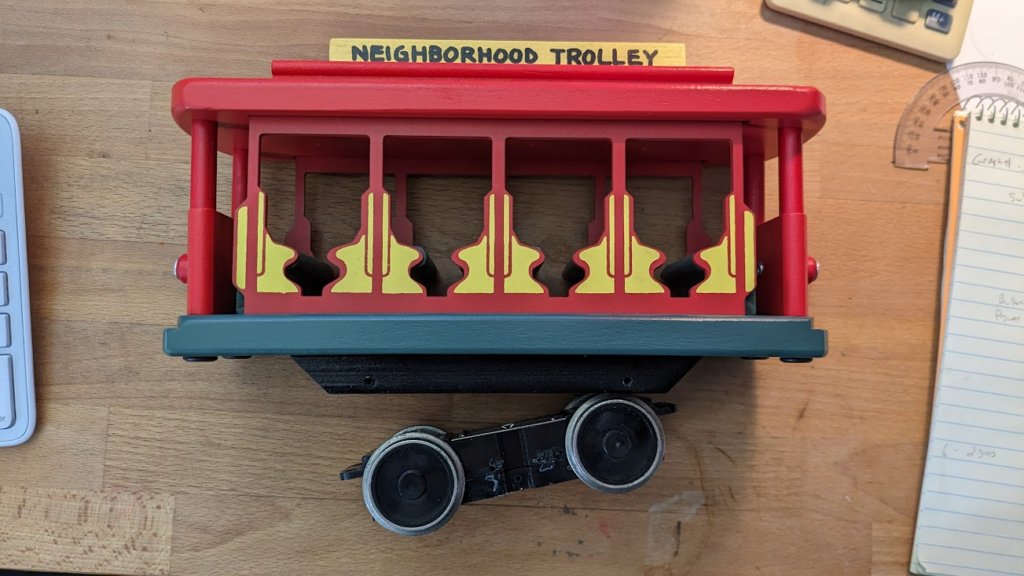
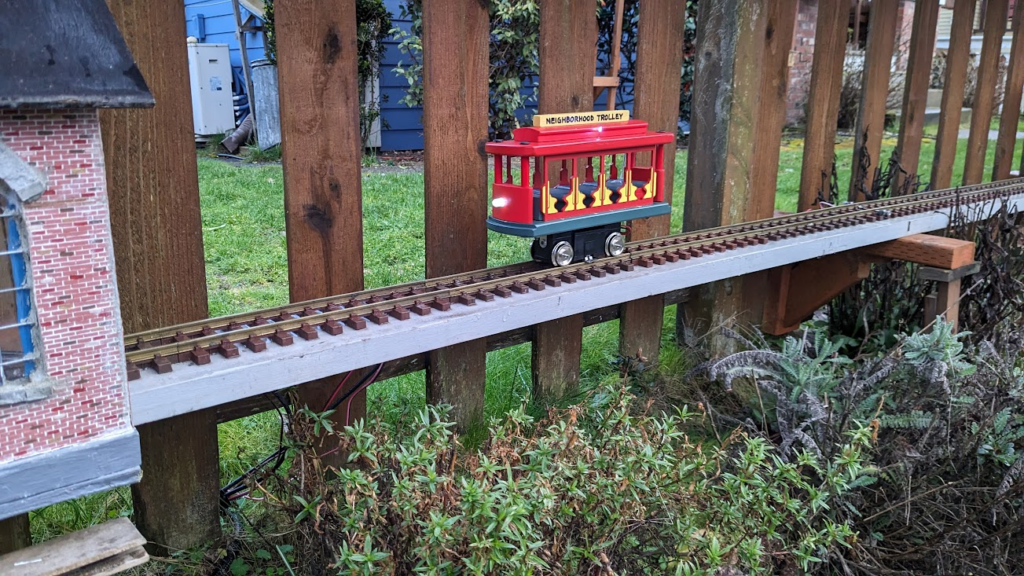
The entire display has a nod to Mister Rogers’ Neighborhood, and I thought it would be neat if I found a trolley that matched the one used in the television show.
I found a wooden toy trolley that looked like it would be the correct dimensions. After it arrived I removed the wooden wheels. It looked like everything would fit. Now I had to figure out how to light it.
For the engine I used a Motor block. Motor blocks are a self-contained model train in a block. My motor passes track power to 2 connectors that I can use for the lights.

Track-powered trains work by one track being positive and the other negative. Want to go in reverse? Switch the positive and negative sides.
However, an LED only lights when wired correctly: positive to positive, negative to negative. If you connect them directly to the train power they would only light in one direction, not the other.
Want to have them always light? You need what’s called a “Bridge Rectifier” – it takes whatever polarity you give it and always outputs positive/negative correctly.
I took advantage of this positive/negative behavior in the LEDs for the headlights – each is wired to track power, but one is wired in reverse. This way only one headlight shines at a time: the one facing the direction the trolley is going.
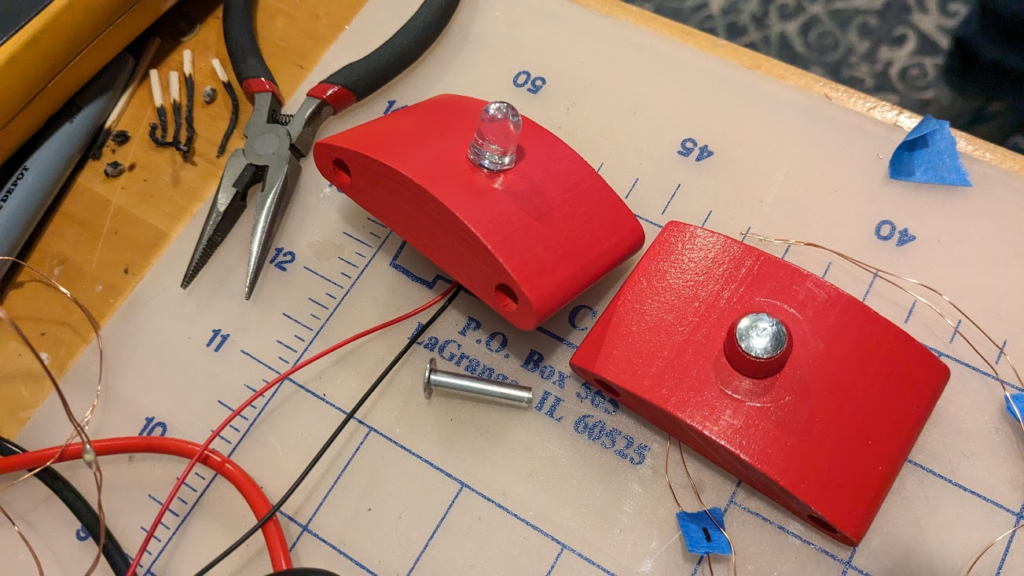
After a few test fits all the lights worked correctly. However, I came to the realization that I did not have enough room for all the fittings. I ended up soldering and shrink wrapping everything together.

Looks pretty good!
Original Costs:
- The electronic parts and wires were about $150
- I’d estimate the wood and parts at $100
- The brick patterns and stones were about $50
- I found a used trolley, but then I had to replace the motor. $100
- I found 12 feet of used brass track for $50
I think my estimates are little high, but I’ll just say $500
Custom trolley Costs:
- The wooden trolley toy was $35
- Motor block was around $40
- LEDs, wires, etc were around $35
I’ll say it was $130 total, not including lots and lots of research and testing
It was a fun little project since I did not know much about model trains and LEDs. Building the original display was my first big introduction. This time around I built on that knowledge, but had to figure out LEDs, resistors, bridge rectifiers, and so forth. It took some time and patience.